Setting Up Matomo Analytics on AWS EC-2 for Free
Summary ⇒ This post covers how to set up privacy oriented and cookieless Matomo website analytics for free. I cover the general process for AWS EC-2, but many of the considerations and recommendations also apply to Azure and GCP's Compute Engine.
For a recent side project, I wanted to understand how users interacted with my site to identify areas of improvement.
As I am not a fan of having to disable cookies on each site I visit, I decided to look for a privacy oriented and cookieless analytics solution. Easy enough, I came across Matomo, an open-source project which, in their own words, is a “ Google Analytics alternative that protects your data and your customers’ privacy”.
As they are open-source, we can host our own on-premise server for free, but they also offer a managed solution starting at 19€ a month; a price that I would definatly consider for a business project but not for an experimental side project.
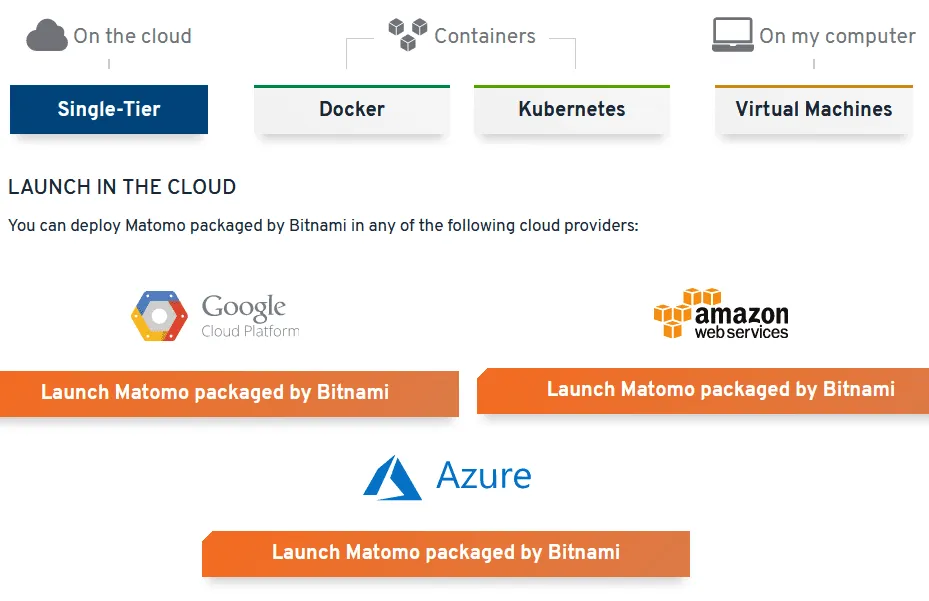
Looking for the easiest way to host my own analytics server I found that Bitnami offers pre-built images of Matomo, ready to be deployed on Azure, GCP or AWS. After comparing the three options I decided to deploy on AWS because the needed EC2 instance falls under AWS Free Tier and would be free. Nonetheless, hosting on an equivalent server on GCP or Azure would cost around 4€, which might be worth it in the name of centralization or sticking to a platform that we know well.
1 - EC2 Set-Up and Configuration
The following section covers the process of setting up an AWS EC2 instance. If you’re using a different cloud provider, you can skip ahead to the “Next Steps” section for general server and domain name configurations.
So, after launching the AWS package, the setup process is relatively straightforward with many pre-defined settings. Just keep in mind that on the “Launch new instance” step, you should choose the AWS region where the instance will be hosted.
Afterwards, on the EC2 console, we can fine tune the specs of the machine we are going to use, however, I decided to keep most of the default values, just making changes to the following:
-
Instance type: this choice impacts your costs. I went with the most affordable machine Bitnami recommends, the t3.nano, but many of the smaller EC2 machines qualify for the free tier.
-
Generate a New Key Pair: this allows you to directly connect to your EC2 instance.
-
Network and Firewall Configuration: I did not do anything here but you can change this to fit your requirements.
And that is that for the general setup. The instance will be created and initialized, and we can go the EC2 Console to see its detailed information, including the machine’s IP addresses and Public IPv4 DNS . This URL will look something like https://ec2-3-9-2-6.compute-1.amazonaws.com/ and when we open it in our browser, we should be greeted with Matomo’s Log In prompt, for which the default credentials can be found in Bitnami’s documentation.
2. Next Steps:
If we can see that prompt, the Matomo server is running. However, it is still not ready to be integrated into our website. For that, there are some things we need to do first:
2.1 - TLS Certificate:
As you probably noticed, even when the server is reachable, our browser complains about its certificate being self-signed. Luckily, Bitnami provides a script and a guide to do fix this and generate proper certificates..
You can go ahead and run the script but you will soon realize that it fails. This happens because Let’s Encrypt, which is used to create the free certificates, has a policy against creating certificates for EC2 domain names, given their ephemeral nature.
So before we can get our final certificates, we need to first configure our DNS records to ensure that the IP of our EC2 instance is associated with one of our domains.
2.2 - DNS Configuration:
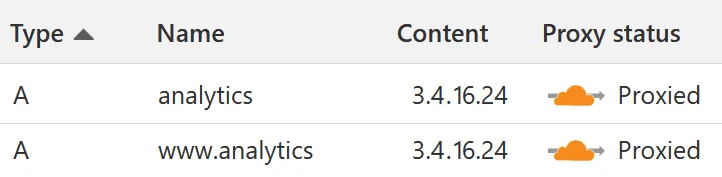
To associate a subdomain to our EC2 IP we just need to go to our DNS provider and create the appropriate CNAME or A Records. Here it is important that we create records for our regular address “analytics.example.com” and also for our “www” prefix one, “www.analytics.example.com”. Otherwise, we might have issues when creating our certificates are treated as different entities even when they point to the same resource.
2.3 - Cookieless Analytics:
At the beginning I mentioned that I wanted to have cookieless analytics, this however is not Matomo’s out of the box configuration. To achieve this I had to manually set certain privacy elements of the Matomo server configuration and to do that I followed these guides:
2.4 - Bitnami Documentation:
Bitnami offers extra documentation on how to configure your instance, your Matomo server, Apache and so on. All that I needed was found there, so have a look at it.